You are confined within your walls, your camera is right there, a little dusty, looking at you. And you keep asking yourself: how to take creative photos at home?
That’s true, taking beautiful, original and creative photos at home is difficult, but not impossible. Here you are a simple but astonishing ready to use idea.

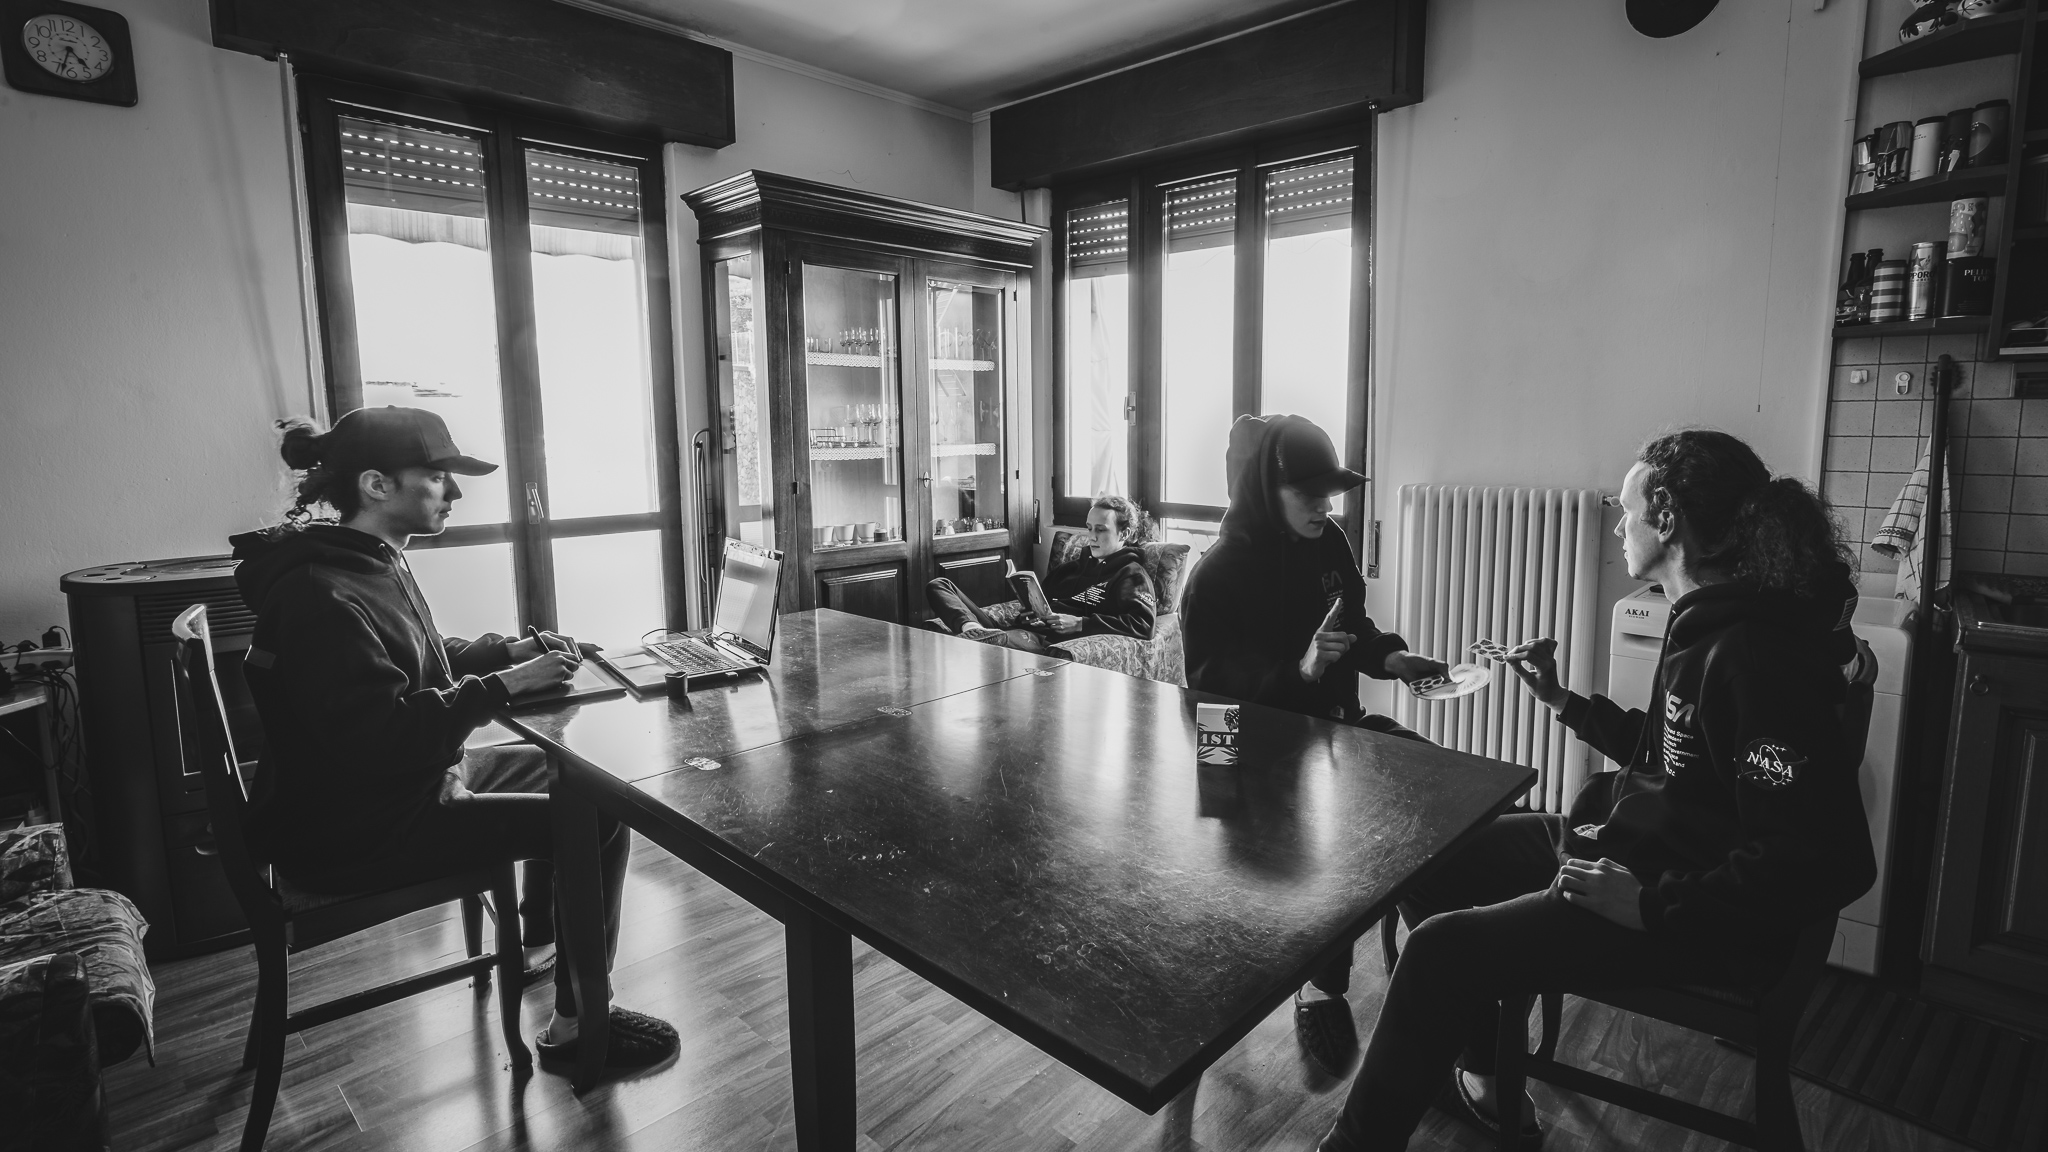
See? The person sitting in front of his laptop it’s me, and it’s also me the person chilling with a book on an armchair. As I’m performing a card magic trick to myself, you have noticed that in this image I literally multiplied!
This effect is super simple and I’m sure many of you know it already: it’s a multiple exposure.
I remember that when I was a child I used to perform this kind of effect. How? By moving the same person multiple times in the frame as I was panning a panorama photo with my phone.
In this instance though you don’t need to play hide and seek with your camera sensor! The only requirements are a tripod (or any kind of stable surface to place your camera on) and a really basic Photoshop knowledge.
How to clone yourself
Here’s how to do it: keeping your camera in the same spot, based on the composition you want to achieve. Then take a certain number of photos. Most importantly, you shoud be aware not to change any setting – you don’t want to deal with differences between exposure and colour in post production.
You don’t actually need anyone to release the shutter: just use your camera’s timer and make sure to focus correctly before posing for the next shot.
It’s crucial to plan beforehand every body position in order to avoid any overlapping.
My personal advice is to go full manual with your camera, focus mode included. Otherwise you may encounter some issues with variable light conditions (such as a cloud passing by) which may cause differences between one shot and the others.
To ensure that each area is in perfect focus, set a small aperture (F11 or above, avoiding to go crazy narrow like F22) as this will result into a wide enough depth of field. Don’t be worried about your shutter speed, as you can lower it quite a lot by using a stable surface or a tripod (just remember to stay perfectly still when the exposure starts!) to get a proper exposure.
When all the exposures have been collected, it’s time to jump into Photoshop!
Moving on to post-production
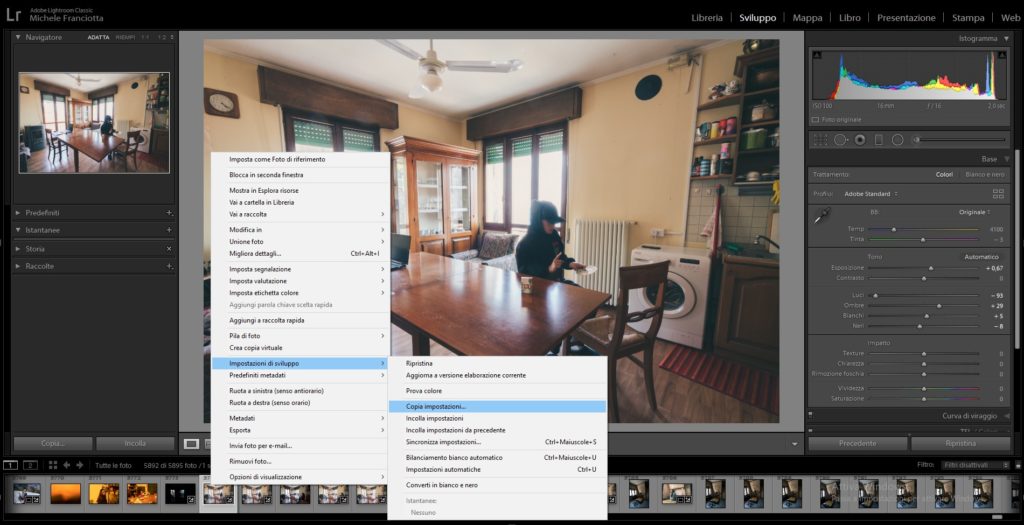
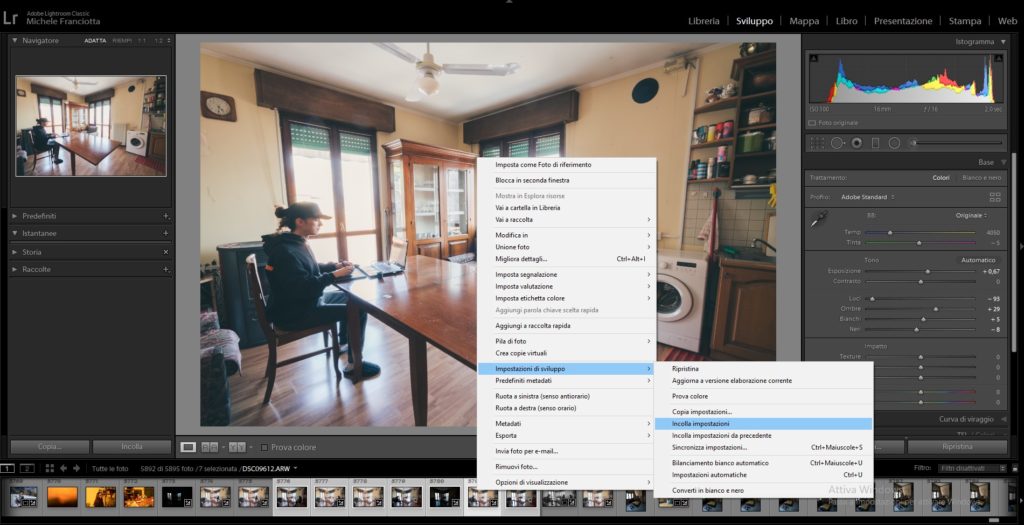
I personally prefer to import my file into Lightroom first, even though you don’t necessarilly need to do that as well. I do it this way because I can apply the editing from the first image to all of them with just one click, making the whole serie consistent in light and colour.
After this first step, I select each image and I import them into Photoshop opening them as individual layers:
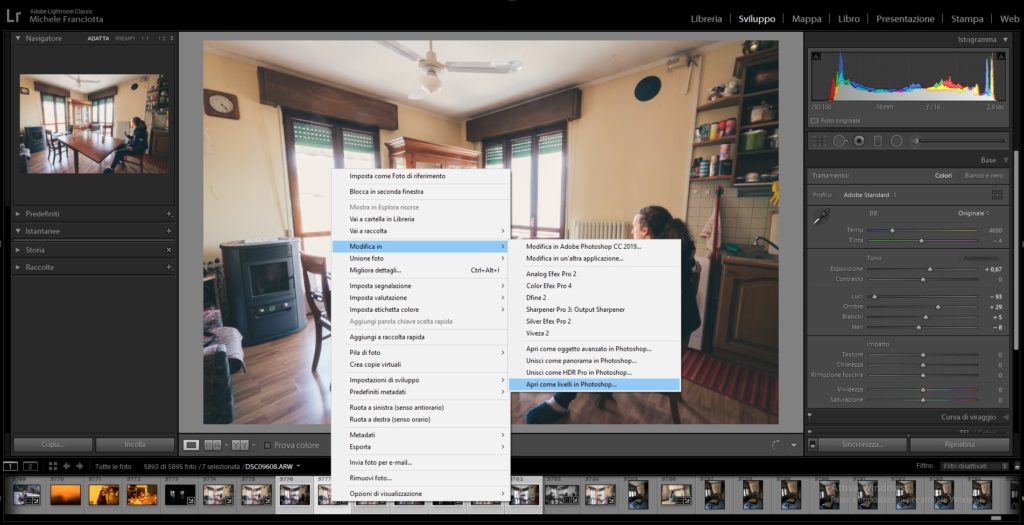
This is a very common workflow for those who use photostacking for macro or landscape photography, as each image is stacked on individual layers on top of each other into a single file.
You just need to add a black layer mask (Press ALT while clicking on the mask icon) and paint with white using a soft brush on it to show the selected portion of the image on the later beneath, revealing the clone.

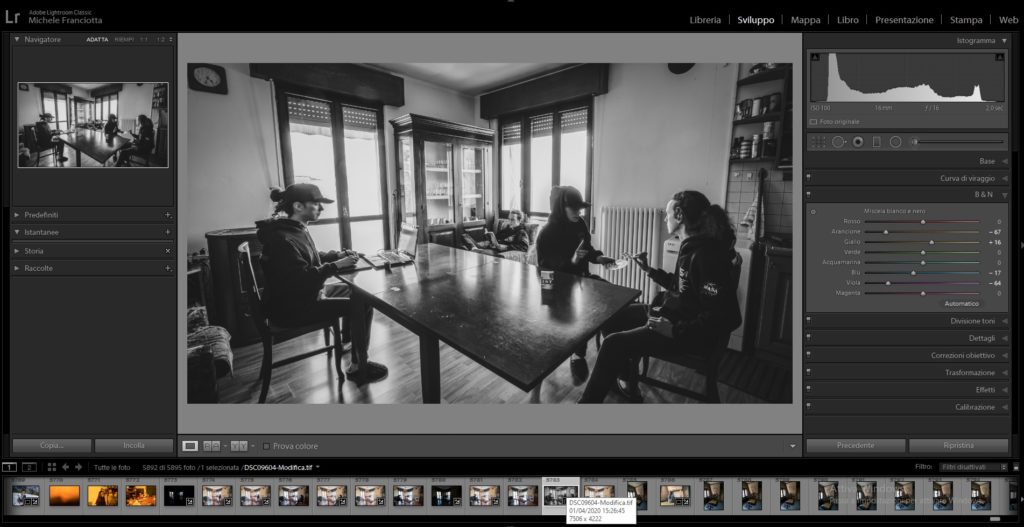
Once every layer has been painted with the desired selection, we can merge them all together using the shortcut (CTRL+SHIFT+ALT+E) and save (CTRL+S). In this way the file will automatically be shown back into Lightroom in tif format.
Now that the blending is completed, you can edit your multiple exposure at your heart’s desire (I decided to go with a black and white conversion!).
Further ideas
This technique can be applied to videos as well following the very same principle. Besides, I advise you to look for a specific tutorial because of the differences between the most commonly used softwares (Da Vinci Resolve, Premiere Pro, Final Cut…) so that you can learn with your favourite program. YouTube is filled with great content for learning how to experiment with the animated version of this effect.
You can find the image that I took as an example from the beginning of this article also on my Instagram profile.
If you have any question or comment please contact me!
I hope this short post will push your creativity during such an unusual time. Moreover, if you felt the urge to try this effect out don’t hesitate to show me your results, I would love to see it!