
I’ve never been a big fan of taking pictures of indoor training – I’ve always preferred the outdoors, even in the coldest seasons. Like many people during this quarantine, though, I had to make the best of it.
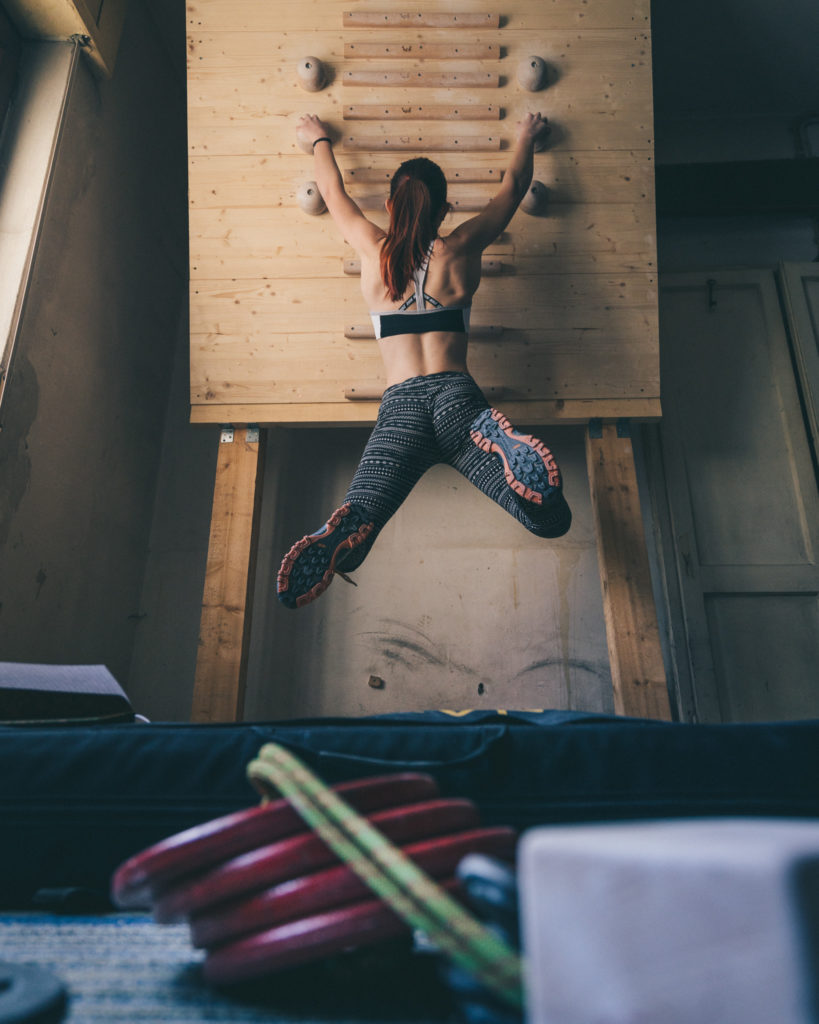
This way, I discovered that even an indoor pan gullich workout (a tool that climbers like me use to strengthen fingers and arms) can offer many photographic ideas.
Your living room or garage may not look like the most stimulating setting, since you are used to see them each and every day, but if you try to look at them with the photographer’s eye I am sure you will notice some interesting details.
Let’s start by admitting that taking indoor action photos is particularly challenging for the issue of light, which is often scarce or artificial. On the other hand, however, working in predictable light conditions – or even controllable by ourselves – is a great advantage compared to outdoor photography!
Some technique
Talking in general, a shutter speed of 1/ 250s is fast enough to get a sharp and blur-free photo, but it also requires sufficient lighting. In fact, the sensor is exposed to light for a relatively short period of time. For this reason, it is preferable to avoid apertures greater than F4 and set the ISO accordingly.
On the other hand, a very open diaphragm (like F1.8) captures much more light, but the depth of field is greatly reduced, often resulting insufficient to have the whole subject into focus. By the way, let’s keep in mind that the depth of field also decreases as a function of the proximity to our subject. Obviously, this factor can give us some troubles in the confined space of a house.
Last, but not least, you shouldn’t be afraid to raise the ISO levels if necessary. A bit of noise, as long as it is not excessive, is often correctable in post-production, and when it is not, it takes second place if the final photo is interesting.
Which lens?
There are no wrong lenses: each focal length has its own peculiarities, so the lens must be chosen according to the image you want to create and the story you want to tell.
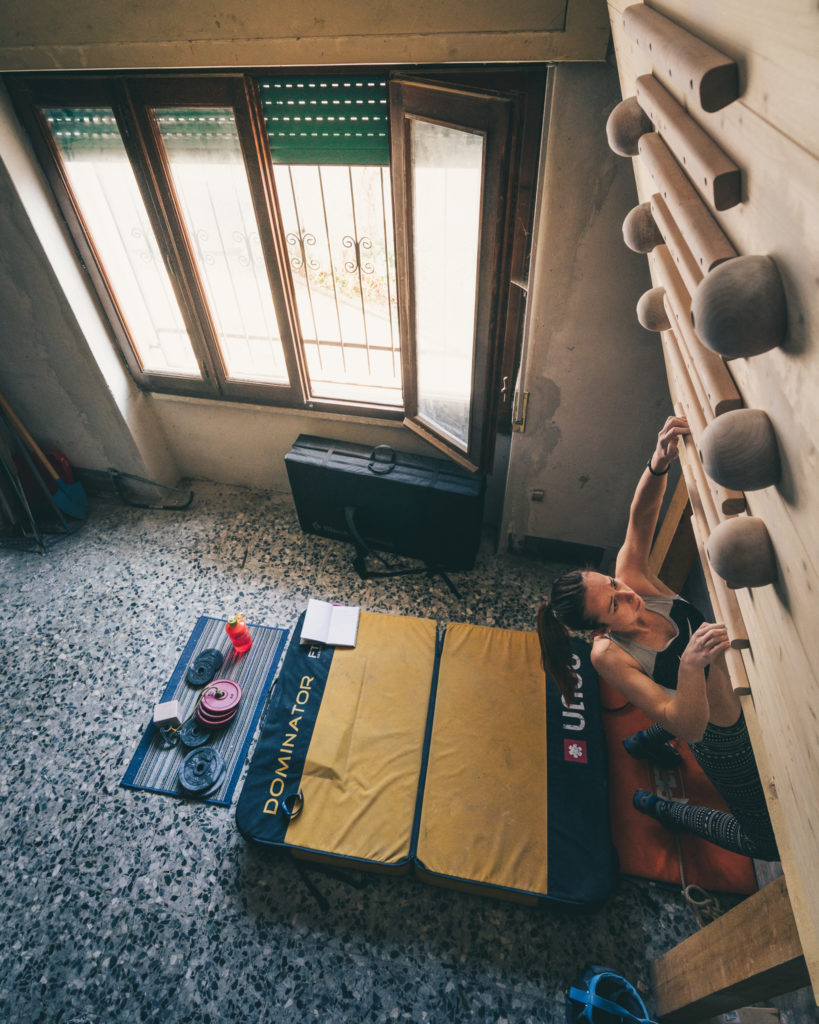
Personally, my favorite indoor lens is the 16-35. Especially when the spaces are cramped (like at home), with its wider end it allows you to include the whole subject in the frame. Moreover, it makes unusual perspectives possible.
In post-production
When it comes to post-production, the less you have to correct, the better! A good starting RAW file is essential. In fact, it allows many more creative choices than a shot that requires corrections for exposure problems. It is important to spend some time at the start of the shooting to find the most appropriate shooting data for the situation. In this way, you can concentrate exclusively on the composition during the action.
Personally, I prefer to slightly underexpose my photos (-0.7 EV), so that I can keep short exposure times even in low light. Moreover, in post-production it is much easier to recover detail from the shadows than from the highlights. My advice, therefore, is to expose for the brightest parts of the frame.
Besides, it would be better to photograph when the weather is overcast and there is no strong direct light. However, in case of extreme contrasts between inside the room and outside the window, a good silhouette could turn a nightmare situation into a creative occasion.
Some tips in conclusion
– The main advantages of domestic spaces are the symmetry and the possibility to control distractions over which we have no control in nature … Let’s make the most of them!
– Let’s choose a wide shot if we can include lines and empty spaces that are harmonious with the position of the subject.
– In case of very narrow spaces or intrusive distractions, let’s prefer more intimate shots, focusing on the details (sometimes few details can be enough to tell a story!).
– Unusual perspectives are always welcome! For example, from above or below the subject (I always keep a ladder close to where I shoot!).
If you are interested in learning more about how to take picures of indoor training, you can find the complete interview from which this article is taken on Oliunìd’s blog.
If the images you have seen have intrigued you, and if you would like to see more about the world of climbing (outdoor and indoor), take a look at the dedicated gallery here!